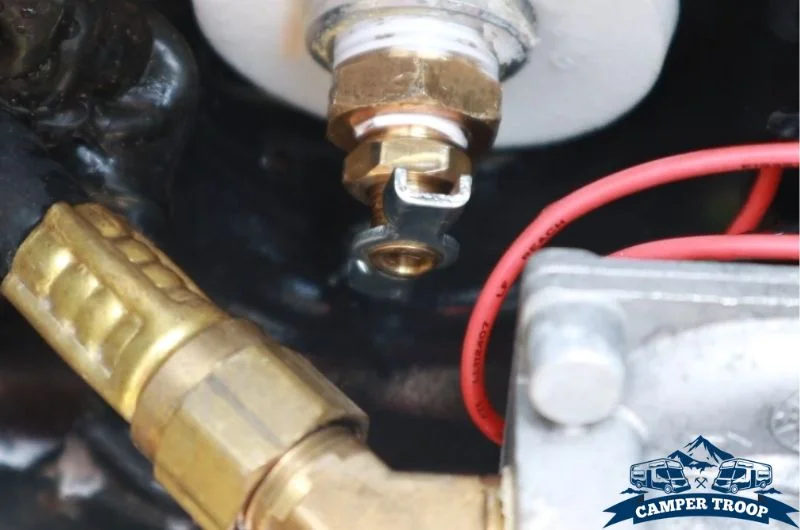
Water Heater Drain Valve 042037-000 9003448 9002402 Replacement: When water heater drain valves wear out or leak, replacing them promptly is crucial for maintenance and preventing damage. If you’ve come across part numbers like 042037-000, 9003448, or 9002402, you’re in the right place. This guide covers everything—from what these numbers reference to how to install replacement parts safely and effectively.
What Are the Drain Valve Part Numbers 042037-000, 9003448 & 9002402?
These part numbers refer to OEM water heater drain valves used across various models—especially from brands like Kenmore and AO Smith, among others. Notably, Sears PartsDirect markets a replacement part labeled 100108778, which corresponds to and replaces 042037-000, 9003448, and 9002402.
So, if you see any of these numbers, know they all effectively point to the same valve type, just referenced differently depending on your water heater’s make. This simplifies finding compatible replacements.
Why Replace the Drain Valve? Common Failures and Symptoms
Understanding the importance of a functioning drain valve starts with recognizing common issues:
- Leaking Valve: Over time, seals may deteriorate, resulting in drips or continuous leaks.
- Clogged Outlet: Sediment deposits can clog the valve, preventing a proper drain or causing backups.
- Corrosion or Damage: Metal valves can corrode; plastic may crack. Physical damage often means reduced reliability.
- Regular Flushing Resistance: Restricted valves hinder effective sediment flushing, decreasing heater efficiency and lifespan
Replacing it with a high-quality valve like 100108778 ensures smooth operation and protects your system from sediment buildup.
How to Replace the Drain Valve: Step-by-Step
Here’s a practical, safety-first breakdown on swapping out the valve:
-
Turn Off Power and Water
-
For electric heaters: switch off the breaker.
-
For gas heaters: turn off the gas supply.
-
Shut off the cold-water inlet to the tank
-
-
Drain the Tank
-
Attach a garden hose to the drain valve and route it to a safe discharge area.
-
Open a hot water faucet in your home to vent air and allow smooth drainage
-
-
Remove the Old Valve
-
Use an adjustable wrench to carefully unscrew the old valve. Work slowly to avoid damaging tank threads.
-
-
Prepare and Install New Valve
-
Wrap the threads on the new valve (e.g., part 100108778) with Teflon tape.
-
Thread it into the tank’s opening and tighten securely—not overly tight, but enough to prevent leaks.
-
-
Refill and Check for Leaks
-
Close the valve.
-
Turn the cold-water supply back on, allowing the tank to fill while a hot-water faucet remains open to release trapped air.
-
Once water flows consistently, close the faucet and restore power or gas supply.
-
For helpful visual guidance, see the step-by-step videos on replacing water heater drain valves
Choosing a Better Drain Valve: Upgrade Options
If you’d like improved flushing capability or durability, consider these upgrades:
-
Full-Port Ball Valve Models: Wider openings allow sediment to exit more freely than standard designs
-
Turbo-Flush Valves such as the Water Connection SR121: These offer enhanced sediment removal efficiency and faster draining
-
Materials and Build: Options include brass, polymer, or dielectric models to reduce corrosion, improve longevity, and meet lead-free standards
Make sure the replacement matches your tank’s thread size—typically **3/4″ NPT to hose thread—and shank length.
When to Hire a Professional vs. DIY
You can handle this job if you’re comfortable using basic tools—but consider hiring a pro if:
-
The old valve is stuck due to corrosion.
-
You’re not confident shutting off the system safely.
-
Your model has a built-in or welded valve that’s tough to access.
DIY saves on cost and downtime—especially with easy-to-install models like the 100108778 or SR121 for turbo flush. Just ensure safety every step of the way.
Maintenance Tips to Avoid Future Issues
Keep your water heater in top shape with these practices:
-
Flush Annually: Drain a few gallons each year to reduce sediment buildup.
-
Check for Leaks: Tighten or replace the valve if you notice drips between flushes.
-
Use Quality Valves: Full-port or robust brass options last longer and perform better during maintenance.
-
Watch Valve Style: If using a standard valve, flushing with cold inlet closed offers better vortex flushing—reducing risk of damage to tank.
Quick Reference Table
| Topic | Details |
|---|---|
| Relevant Part Numbers | 042037-000, 9003448, 9002402 → Replaced by Part 100108778 |
| Replacement Valves | Full-port ball, turbo-flush (SR121), dielectric, brass/polymer options |
| Tools Required | Adjustable wrench, garden hose, Teflon tape, safety gear |
| DIY Steps | Power off, drain tank, remove old valve, install new, refill, test |
| When to Hire Pro | Severe corrosion, complex setups, uncertain handling |
| Maintenance | Annual flush, leak check, valve upgrades improve longevity |
Conclusion
Replacing a water heater drain valve like models 042037-000, 9003448, or 9002402 doesn’t need to be intimidating. With the correct replacement (such as Part 100108778) and a careful step-by-step approach, you can restore proper draining and extend your heater’s lifespan. For enhanced performance, consider ticking up to full-port or turbo flush valves.