Wood Filler for Hardwood Floors: Maintaining hardwood floors is key to keeping your home beautiful and long-lasting. Over time, even the best floors develop cracks, nail holes, dents, or gaps due to wear and tear or seasonal changes. That’s where wood filler for hardwood floors becomes essential. Choosing the right filler can help you restore the smooth finish, improve durability, and enhance appearance—without replacing entire floor sections.
This guide explains everything you need to know about wood filler for hardwood floors, including types, applications, benefits, and expert tips for flawless results.
1. What Is Wood Filler for Hardwood Floors?
Wood filler is a repair compound used to fill gaps, cracks, nail holes, and imperfections in wood surfaces. It’s commonly applied before sanding and refinishing floors to achieve a seamless, smooth look.
Wood filler for hardwood floors is designed to blend perfectly with natural wood grains, and once dry, it can be sanded, stained, and sealed like real wood.
Key Characteristics of Hardwood Floor Wood Fillers
-
Sandable and Stainable: Easily sands down to match floor level and accepts stains to match wood tones.
-
Durable and Flexible: Designed to withstand movement caused by humidity and temperature changes.
-
Quick-Drying: Most modern fillers dry within 30–60 minutes.
-
Variety of Shades: Available in multiple wood tones (oak, walnut, maple, cherry, etc.) for a perfect color match.
In short, wood filler is your best friend when it comes to repairing minor imperfections in hardwood floors before refinishing or polishing.
2. Types of Wood Fillers for Hardwood Floors
Not all fillers are the same. Choosing the right type depends on the damage, floor type, and finish you want to achieve. Let’s break down the main categories:
1. Water-Based Wood Filler
-
Best for indoor use.
-
Non-toxic, low-odor, and easy to clean with water.
-
Dries quickly and can be stained or painted easily.
-
Ideal for small gaps, nail holes, and surface scratches.
Popular brands: Elmer’s, DAP Plastic Wood, Minwax Stainable Wood Filler.
2. Solvent-Based Wood Filler
-
More durable and resistant to humidity and heat.
-
Suitable for larger gaps or heavily trafficked floors.
-
Strong odor—requires good ventilation during use.
Popular brands: Timbermate, Famowood, and Bona.
3. Epoxy Wood Filler
-
Two-part formula (resin and hardener) that creates a rock-solid bond.
-
Perfect for deep holes or rotted sections.
-
Once cured, it’s sandable and stainable, but harder to work with than water-based fillers.
4. Latex Wood Filler
-
Flexible and easy to apply.
-
Works well for minor surface imperfections.
-
Great for DIY use on engineered hardwood or laminate flooring.
Each filler type has its strengths—water-based fillers are best for easy indoor repairs, while epoxy fillers handle serious damage.
3. How to Choose the Best Wood Filler for Hardwood Floors
Selecting the right wood filler ensures a professional-looking repair that lasts for years.
Factors to Consider
-
Type of Damage:
-
Use water-based or latex filler for minor scratches and nail holes.
-
Choose epoxy for deep gouges or missing wood chunks.
-
-
Wood Species:
-
Match filler color with your hardwood species (oak, maple, walnut, etc.).
-
-
Finish Compatibility:
-
Ensure the filler can be stained or sealed to match your floor’s final color.
-
-
Durability Needs:
-
For high-traffic areas, opt for solvent-based or epoxy fillers that resist cracking.
-
-
Ease of Use:
-
Water-based fillers are ideal for DIY projects, while professionals often prefer epoxy or solvent-based products for heavy repairs.
-
Pro Tip:
Always test the filler on a hidden spot first to check how it looks after staining.
4. Step-by-Step Guide to Applying Wood Filler on Hardwood Floors
Applying wood filler correctly ensures a long-lasting and nearly invisible repair. Here’s a step-by-step breakdown for best results:
Step 1: Clean the Area
-
Sweep or vacuum to remove dust and debris.
-
Wipe the damaged area with a damp cloth to remove oil and dirt.
Step 2: Prepare the Filler
-
Stir or mix the filler as instructed on the package.
-
If using epoxy, mix both parts (resin + hardener) thoroughly.
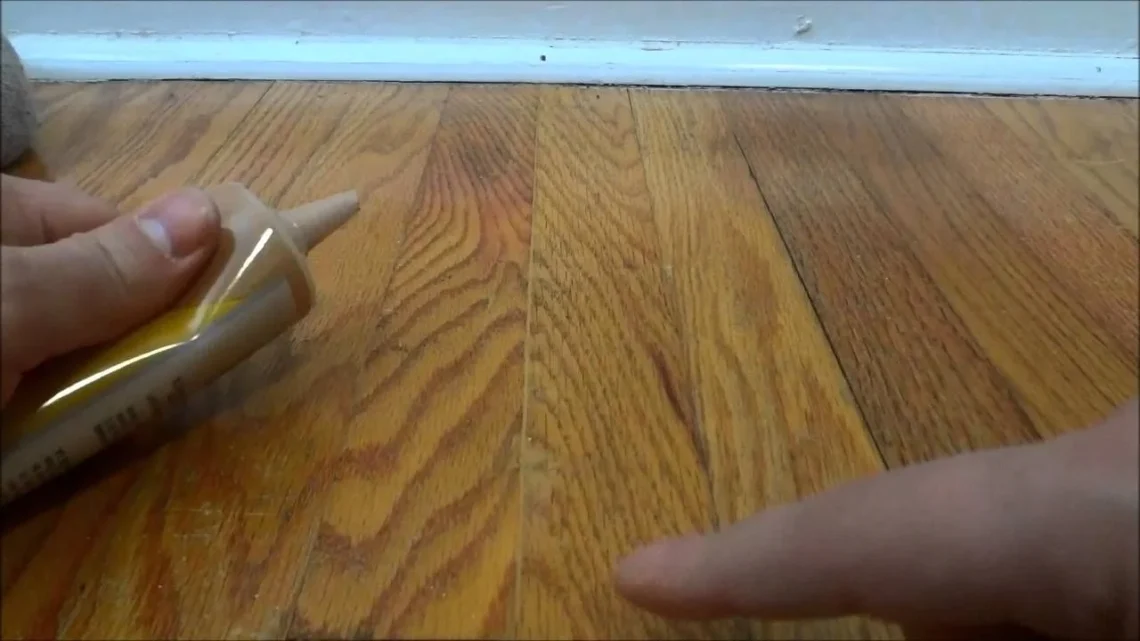
Step 3: Apply the Filler
-
Use a putty knife to press filler firmly into cracks or holes.
-
Slightly overfill the area to allow for sanding later.
Step 4: Let It Dry
-
Allow it to dry completely—typically 30 minutes to 1 hour (or longer for epoxy).
Step 5: Sand Smooth
-
Once dry, use fine-grit sandpaper (120–220 grit) to level the surface.
-
Wipe off the dust with a tack cloth.
Step 6: Stain and Seal
-
Apply matching wood stain to blend the repair.
-
Finish with a polyurethane sealer or floor finish to protect the surface.
Following these steps carefully ensures your hardwood floor repair looks natural and professional.
5. Common Mistakes to Avoid When Using Wood Filler
Even a great filler can fail if not applied properly. Avoid these common mistakes to ensure smooth, long-lasting repairs:
1. Overfilling Too Much
Applying too much filler makes sanding difficult and can leave visible patches.
2. Skipping Sanding
Unsanded filler can cause rough patches that show under finish coats.
3. Ignoring Color Matching
If you don’t test the filler before staining, you may end up with mismatched spots.
4. Using Filler for Structural Repairs
Wood filler is meant for cosmetic fixes, not to replace broken boards or deep gaps between planks.
5. Not Allowing Enough Drying Time
Applying stain or sealer too soon can cause cracking or uneven coloration.
Patience and proper prep work are key to achieving a seamless hardwood floor repair.
6. Best Wood Filler Brands for Hardwood Floors in 2025
To make your search easier, here are some of the top-rated wood filler brands trusted by professionals and DIYers alike:
| Brand | Type | Best For | Key Feature |
|---|---|---|---|
| Minwax Stainable Wood Filler | Water-Based | Small gaps & nail holes | Stainable and sandable |
| Timbermate Wood Filler | Solvent-Free | Deep cracks & gaps | Reusable, zero waste |
| Famowood Latex Wood Filler | Latex | General use | Dries fast, low odor |
| Elmer’s Carpenter’s Wood Filler | Water-Based | Light repairs | Easy to clean |
| Abatron WoodEpox | Epoxy | Structural restoration | Ultra-durable and permanent |
Choosing a high-quality filler ensures long-lasting performance, especially in high-traffic areas like living rooms and hallways.
Conclusion
A good wood filler for hardwood floors can make old or damaged flooring look new again. From fixing minor cracks to restoring deep gouges, the right filler combined with proper application gives you a seamless, durable finish.
Whether you prefer a water-based filler for easy touch-ups or a heavy-duty epoxy for deeper repairs, always focus on color matching, proper drying, and surface preparation. By following this guide, your floors can stay smooth, polished, and flawless for years to come.
FAQs
1. Can wood filler be used on hardwood floor gaps?
Yes, but for larger gaps between planks, consider using flexible gap fillers or floor putty designed for movement.
2. Can I stain wood filler to match my floor?
Absolutely. Use stainable or tintable fillers for a perfect color blend.
3. How long does wood filler last on floors?
High-quality fillers can last 5–10 years or more, especially when sealed properly.
4. Should I use wood filler before sanding or after?
Apply before final sanding—it ensures a smooth, even surface.
5. Can I walk on the floor immediately after applying filler?
Wait at least 24 hours after sealing before walking on the repaired area.